Showing posts with label decoupage. Show all posts

Tuesday, March 23, 2010

Altered Wooden Wildlife Deer Hunting Ornament

Wooden Wildlife Deer Ornament


              I come from a family of very dedicated and determined hunters, who take their “game” seriously. A few rules of the family are: No wedding during hunting season, Plan on hunting almost every day. I never know what to buy or make for someone that is so passionate about their hobby, sport, collections and others. A few years ago, I started a trend or tradition of making a Christmas ornament for each of my brothers, mom, in-laws and a few friends. I try to cater to their likes.
            Well, I went to Michaels and found these unpainted wooden shapes: oval, square, angel, heart, snowman, and many others. I picked up a dozen of the unpainted oval pieces since they were 6 for $1.00. When I got home, I asked my husband to drill a tiny hole near the top of each piece so that I could run string or ribbon through. I then took out my stamps that had wildlife on it from StampinUp! and my ink. I layered the various colors of ink and images onto the wood, and created a subtle and peaceful looking ornament. On the back, I attached a piece of cream cardstock and signed my name and added a few leaves. I used a water based sealer to seal the ink. These were such a hit with the family that I continue to add to their collection each year and they never know what creature or design they will get.

Altered Art "The Girl With A Pearl Earring Classic Cigar Box,Handbag & Purse

The Girl with A Pearl Earring Classic Cigar Box Handbag and Purse


    One day while shopping at Michaels Craft store, I walked down the unpainted wood aisle and stumbled into uncharted territory and a new love was born. There were wooden boxes, letters, shapes, benches, jewelry boxes, trunks, wooden handbags and much more. There were all sorts of handles, and mirrors to adhere to the inside of the wooden box. I bought a package of a 3”x3” mirrors. I used a silver acrylic paint both inside and outside. I printed some classic pictures from Dover Art software: The Girl with a Pearl Earring, and one of a classic lady resting.I added a few words around the outside of the wooden Purse box and it reads: Do You See What I feel? Peace, Hope, Love, Pain, Sorrow, Fear. I added a blue ribbon on the edges of either side with a glue gun.

 I used some Cat’s Eye Chalk ink to distress the edges. Then, I took out the Modge Podge and attached the pictures to either side of the box. I added a pearl stone so that it would make the earring pop. I wanted a unique handle so I bent 2 silver spoons and hot glued them to the bamboo handle.

 For extra durability I wrapped a blue ribbon around the spoons. In the inside of the box, I glued the small mirror I bought and glued the same blue trim around the mirror.

I have used it only a few times but I truly enjoy just looking at it. These box purses can be made to fit the person who is making it or for the person you plan on giving it to. All it takes is a little creativity to create a masterpiece.

Tuesday, March 9, 2010

Twilight's Volturi Wedding Gift Box and Necklace to Bella Cullen


        A few years ago, I went to an auction that had all sorts of strange and misc. items. One box had many pieces of hardware and extra crystals from a chandelier. I was in a Twilight Swap and needed to make something special for my partner. I decoupaged a wooden box, and added jewels and pearls to it. The inside of the box is the Volturi's note to Bella about looking forward to meeting the new Ms. Cullen. I made a "diamond looking" pendant from an old chandelier that I polished. Then found a fairly thick and longer gold chain to hang it from. It was fun to make this and learn a little more about jewelry making and being able to create a "green" style necklace that used found items in new ways.


Final Result of Twilight's Cullen vs. the Volturi Checker/ Chess Game Board

     
      In earlier postings, I posted the pieces of a checkers game that I made for one of the best book series I have read in awhile: Twilight. I created Cullen Crest and Volturi Crest pieces out of polymer clay. I used some decoupage glue and attached each "color" square to a sturdy piece of cardstock, then finished gluing it onto a piece of wood that was cut to fit onto the 12"x12" board. I distressed the edges and sealed it. I created a little baggy that goes inside an altered box to hold all the game pieces. I took several photos to show the steps.
       Supplies needed:


Start of Layering:

Finished Board:
Bag holding the pieces and the box the pieces are housed in:

Thursday, February 4, 2010

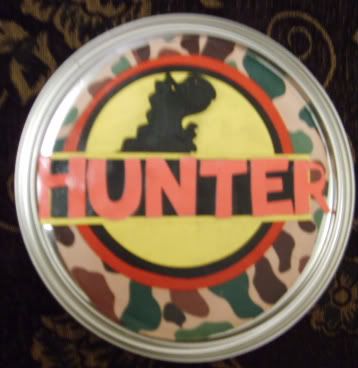
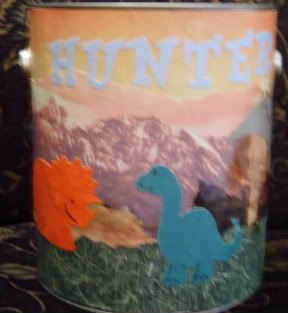
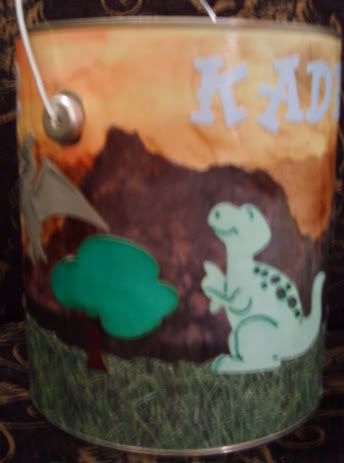
Hunter's Dinosaur Busy Can


My son Hunter loves Dinosaurs and so one day I decided to make him a "busy can." Basically, he could fill it up with toys that would fit in the can and we weren't hauling every little thing under the sun or that did not fit in the can. Sometimes, I would add snacks to it and little surprises. I used a brand new, never been used paint can that I bought at the local hardware store for $1.99. Sure, I could have bought one at a LSS (Local Scrapbook Store) but then I would have paid 3-4 times more. I used modge podge to decopauge the scrapbook paper onto the can. The cricut cart "Paper Doll Dress Up" was used to create these little dinosaurs. You would not believe all the positive reactions I would get when Hunter took the can with him to some of my doctors appointments or to visit a friend and he would sit and play with out making a scene. Once, the can was dried I added a sealer so that it could be easily wiped off for sanitary reasons. He still has the can and we take it on trips. It truly helps cut down on a ton of extra toys in the van.

Twilight Cullen Crest Book Cover


For the Twilight Swap that I am in, I wanted to create unique items for my partner and she also likes the Cullen Family. I messed around with my photo/ Design imaging software to try and replicate the Cullen Family Crest. I apologize for the glare on the cover. I used the DCWV 12"x12" stack with the leather looking paper and cut it to the size of the book cover. Then, I applied modge podge on the plastic cover and then placed my Cullen Crest Design on it. Another layer of modge podge and sealer was applied. I plan on adding one more coat just to be safe. Inside this book I will include recipes, Twilight Trivia, Ideas for Twilight Parties, the Twinchies, and many other things. I am in the process of making a checker board with Twilight related cameos and squares that match the Twilight colors. Enjoy!